
Required materials
Clean & dry cloth
Level
Measuring tape
Application spatula (included)
Exacto style knife
Painters tape

Ideal surfaces
Smooth, dry and clean surfaces, treated with primer and a minimum of one coat of paint
Please wait a minimum of 15 days before installing on a freshly painted surface

Surfaces to avoid
Dirty, moldy or dusty surfaces
Textured, damaged or peeling surfaces
*it is not recommended to install your mural directly on brick, wood, gypsum, primer or plaster
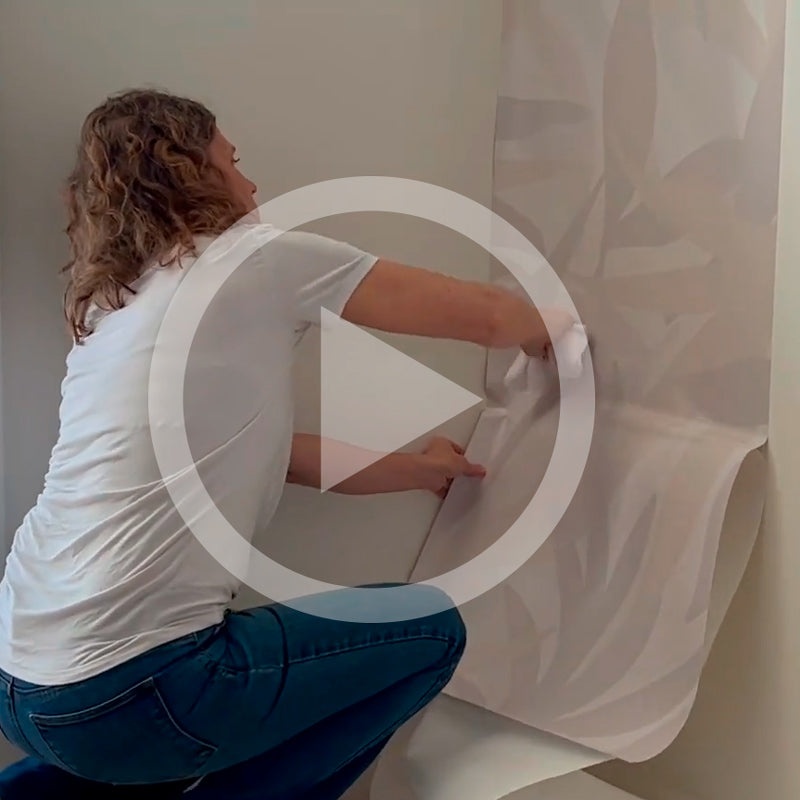
Watch our installation video
View video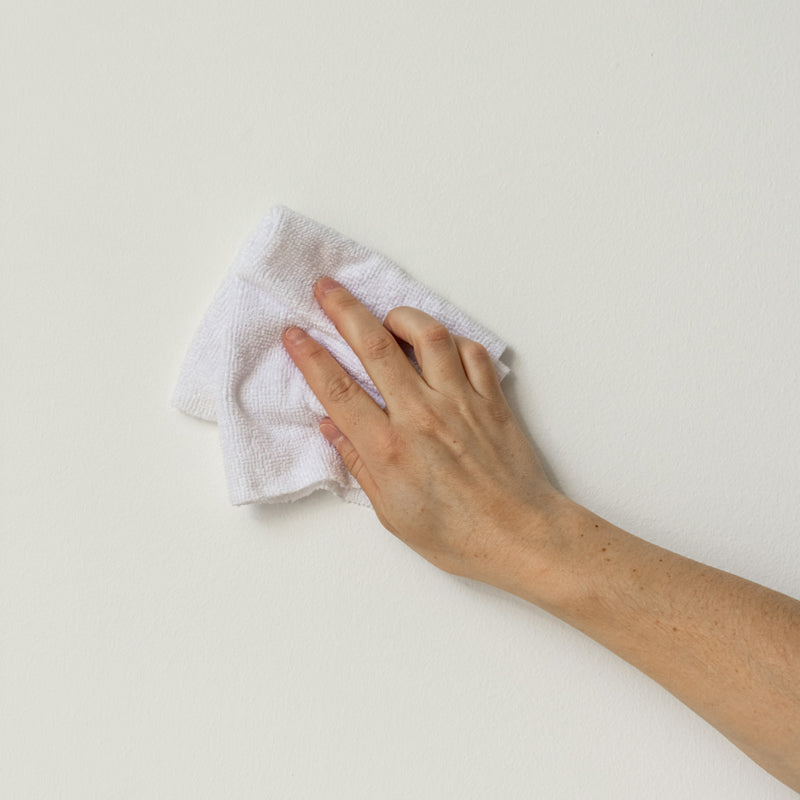
Prepare the surface
Shut off the power to the electrical outlets for the room you will be working in and remove the plug
covers. Remove any objects hanging on the wall.
Fill, sand, or repair any imperfections.
Clean the wall with a dry cloth (without cleaning products) ensuring it is free from dust and residue.
The surface should be smooth, clean, and completely dry before beginning the installation.
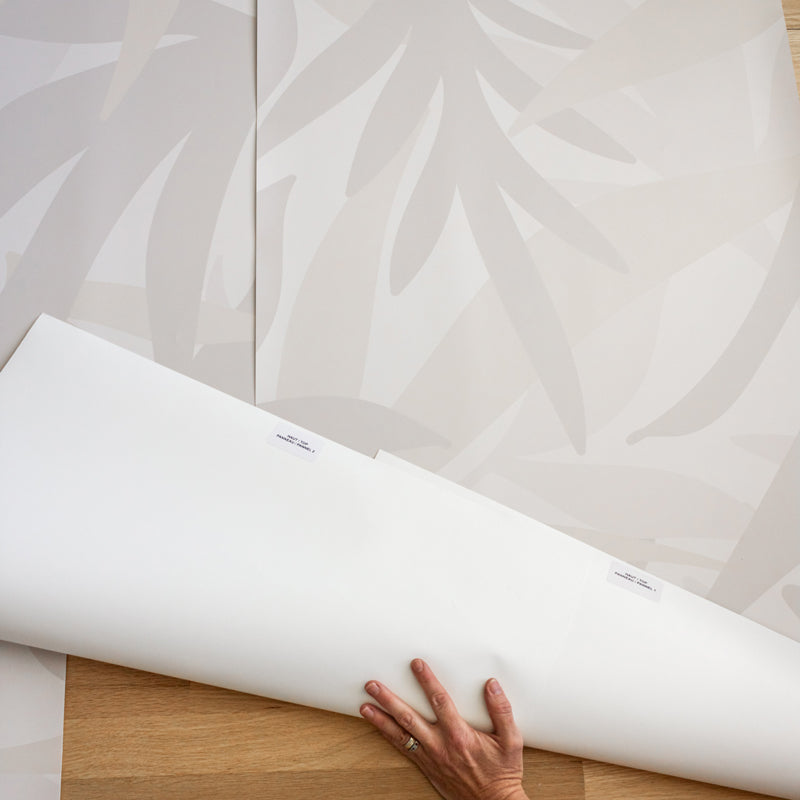
Verify the wallpaper panels
Lay the panels on the floor, printed side up and in numerical order (from left to right).
Check for any printing defects, ensure the total width is accurate, and verify that the patterns align
from one panel to the next (more on pattern matching in the following steps).
In the event of any manufacturing defects or errors in your order, please contact us before
installing your mural.
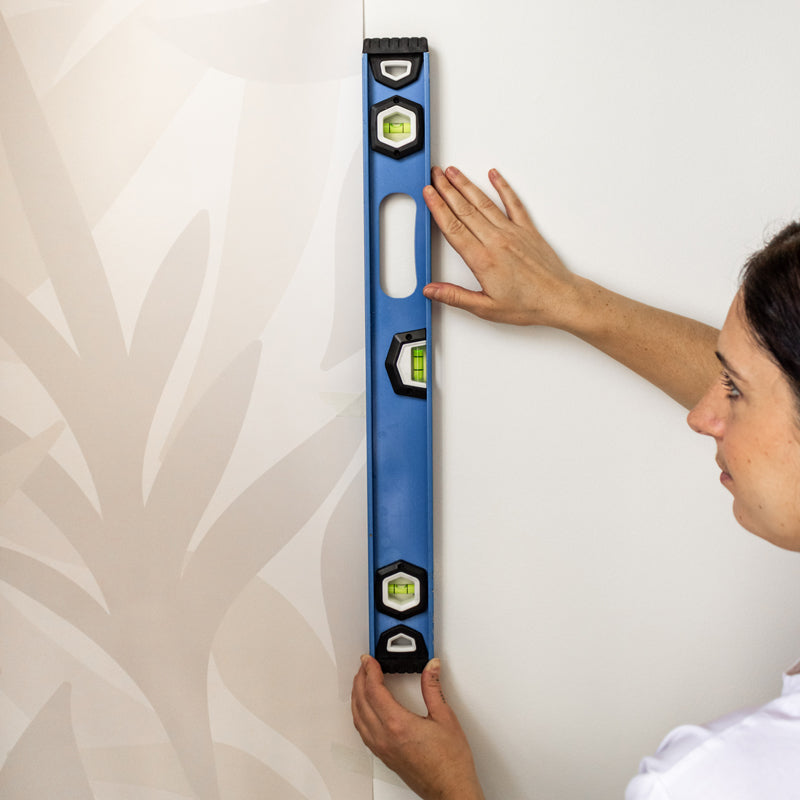
Install the first panel
Temporarily install the first panel with the painters tape, starting from the top left corner of the
wall.
Using a level or laser, ensure that the first panel is straight. Do not rely on the walls or ceiling as
they may not be perfectly level.
Peel off and cut away at least 6 inches of the white backing and then firmly press the adhesive
vinyl to the wall using the application spatula, making downward movements.
Peel off the remaining backing, a little at a time, and gradually stick the vinyl to the wall using the
spatula, ensuring that the panel remains level.
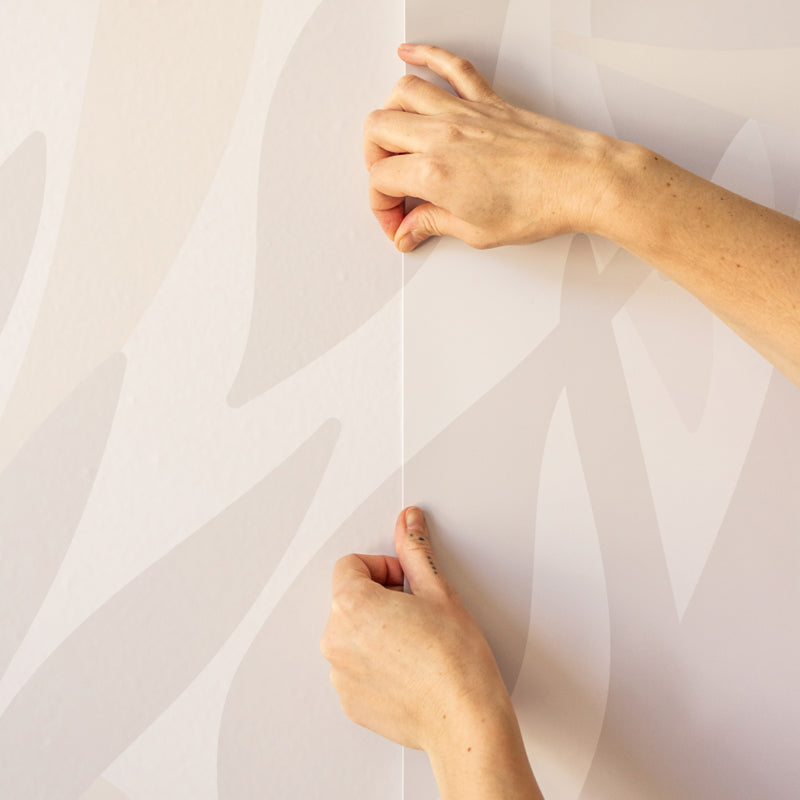
Install the following panels
Temporarily secure the panel to the wall using tape, overlapping it on the previous panel, and
matching the pattern.
Overlap the left side of the panel being installed onto the right of the previous panel. It is important
to ensure that the overlap is consistent from one panel to the next. The overlaps will be 0.5 inches
wide.
At this stage, you no longer need your level, simply align the pattern ensuring you have 0.5 inches
of vinyl overlapping onto the previous panel.
Make adjustments as needed by gently removing the vinyl to realign it. Our material is durable and
removable, so feel free to make corrections.
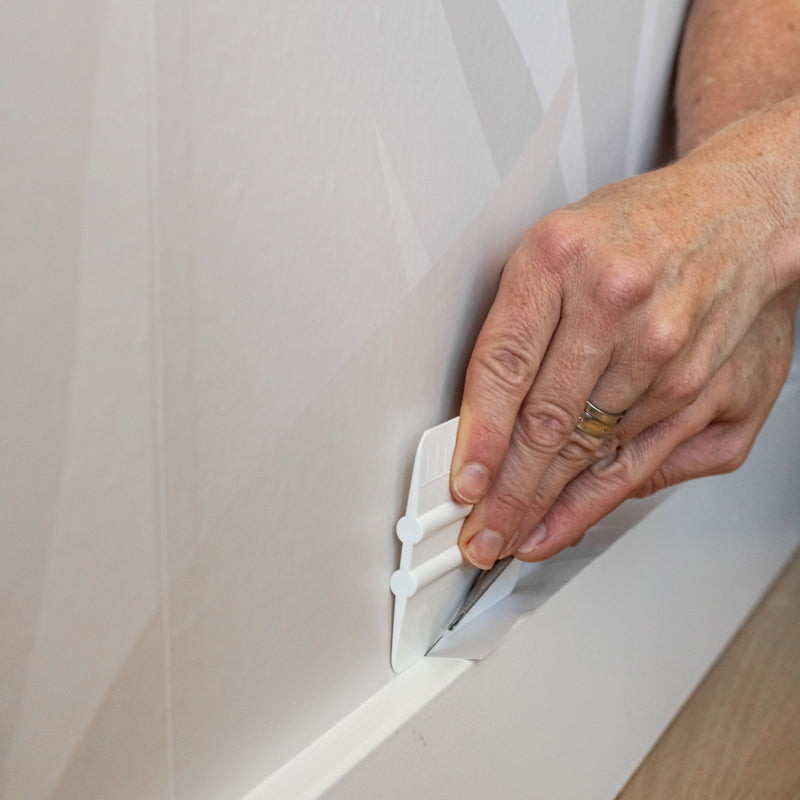
Finishing
If bubbles are visible, use the spatula or your hands to push them towards the edge. You can also
smooth them out by piercing them with a needle and then smoothing them with your fingers.
Trim away the excess vinyl at the top, bottom and extremities of your wall, if necessary, using an
exacto style knife.
Cut carefully around electrical outlets, and reinstall the switch plates, making sure the power is still
turned off.
View or download our PDF
View PDFAny questions ?
We are easy to reach and it would be our pleasure to answer any questions or ease any concerns.


