
Required materials
Clean & damp cloth
Painter’s tape
Scissors

Ideal surfaces
Smooth, dry and clean surfaces, treated with primer and a minimum of one coat of paint
Please wait a minimum of 15 days before installing on a freshly painted surface

Surfaces to avoid
Dirty, moldy or dusty surfaces
Textured, damaged or peeling surfaces
*it is not recommended to install your wall decal directly on brick, wood, gypsum, primer or plaster
Without transfer tape
Watch our installation video
View video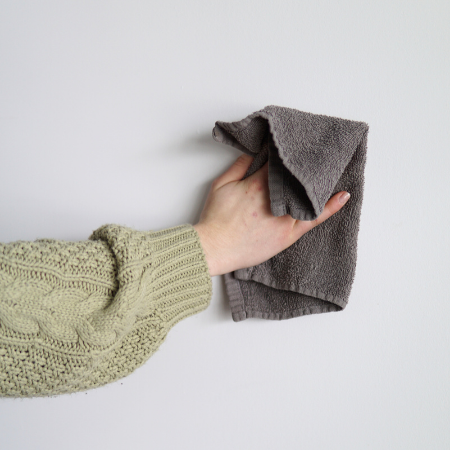
1. Preparing the surface
Wipe the surface with a damp cloth. Do not use any cleaning products. Ensure the wall is dry before applying your decal.
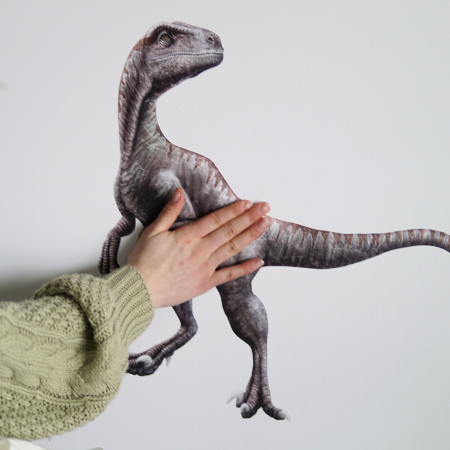
2. Apply
Peel away the decal and apply it to the clean surface.
With transfer tape
Watch our installation video
View video
1. Preparing the surface
Wipe the surface with a damp cloth. Do not use any cleaning products. Ensure the wall is dry before applying your decal.
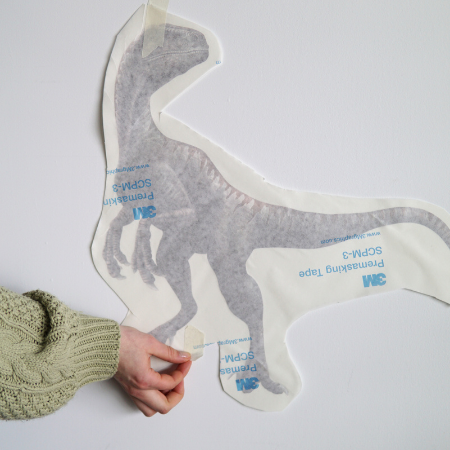
2. Cut
With the required scissors, separate the decals from eachother
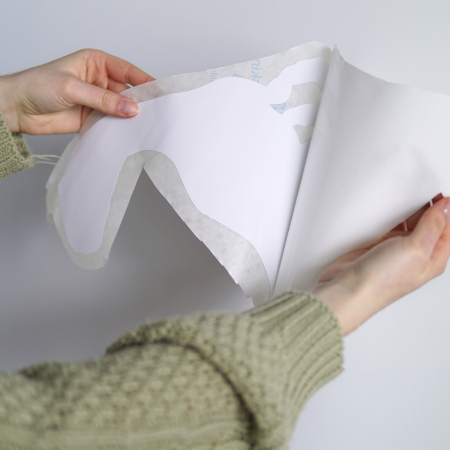
3. Peel
Gently peel away the white backing paper from the decal’s adhesive side. Be sure that the decal remains on the transfer tape. You will now see the adhesive side of the decal.
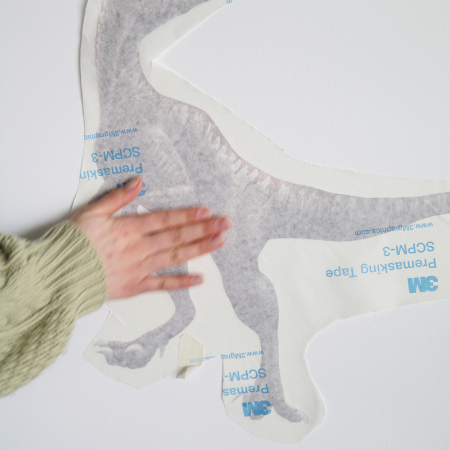
4. Apply
Firmly apply the decal to the area of the wall that you previously wiped clean.
Rub the decal in a circular motion. (The heat from your hands will help the decals to adhere).
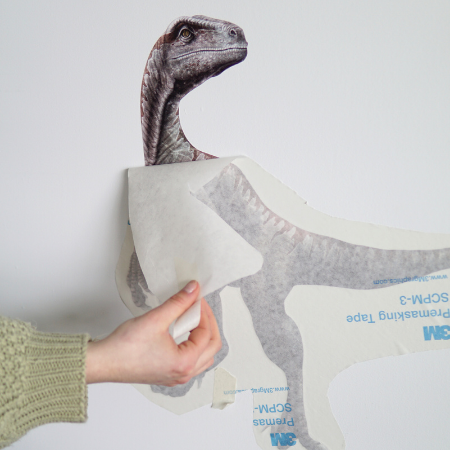
5. Remove the transfer tape
Gently remove the transfer tape. Start at the top and gently
peel back the transfer tape to expose your decal.

6. Final product
Gently push any remaining bubbles towards the outside of your new decal with your fingers.


